Any reputable contract manufacturer will inspect their customer’s parts before packing them for delivery. However, not all inspections are performed the same way or offer the same outcomes.
Here at Ricaurte Precision Inc., we take a holistic approach to quality inspections. Our team leverages cutting-edge tools and technologies to deliver thorough, efficient quality control inspections that ensure accuracy and precision.
Keep reading to explore RPI’s innovative inspection process and see what goes on behind the scenes.
RPI’s Holistic Inspection Process
From values-driven decisions to top-of-the-line technology, we leave nothing to chance. Here’s what contributes to every inspection we perform:
1. Clear communication
Picture a pyramid with six levels. The bottom level, the foundation, supports every level above it, and here at RPI, that foundational level is dedicated to communication.
Communication is key to all of our efforts. After identifying an improvement opportunity, we prioritize clear communication for defining the next steps, cultivating new knowledge, and promoting growth. Thoughtful communication also aids us in providing great service to our customers.
RPI’s commitment to communication encompasses multiple activities throughout our production CNC machining shop:
- Training team members in processes, procedures, and digital technologies
- Reviewing and documenting issues, successes, and areas for improvement
When everyone collaborates and communicates effectively, we can address quality concerns before they affect a single customer.
2. Continuous improvement
Most folks in the manufacturing sector are familiar with this next critical level of our pyramid.
Though “continuous improvement” has become a common catchphrase, the philosophy is essential to not only production efficiency but also quality management. At RPI, our commitment to continuous improvement drives countless decisions, from digital technology investments to process and procedure implementation.
We’re constantly reviewing our methods to identify even the smallest opportunities to improve every customer’s experience with optimized efficiency, exceptional quality, enhanced precision, and more.
3. Digital technologies
RPI relies heavily on this third pyramid level: digital technologies that drive efficiency, consistency, and quality.
These two software solutions serve us the most, with tools that impact every action we take:
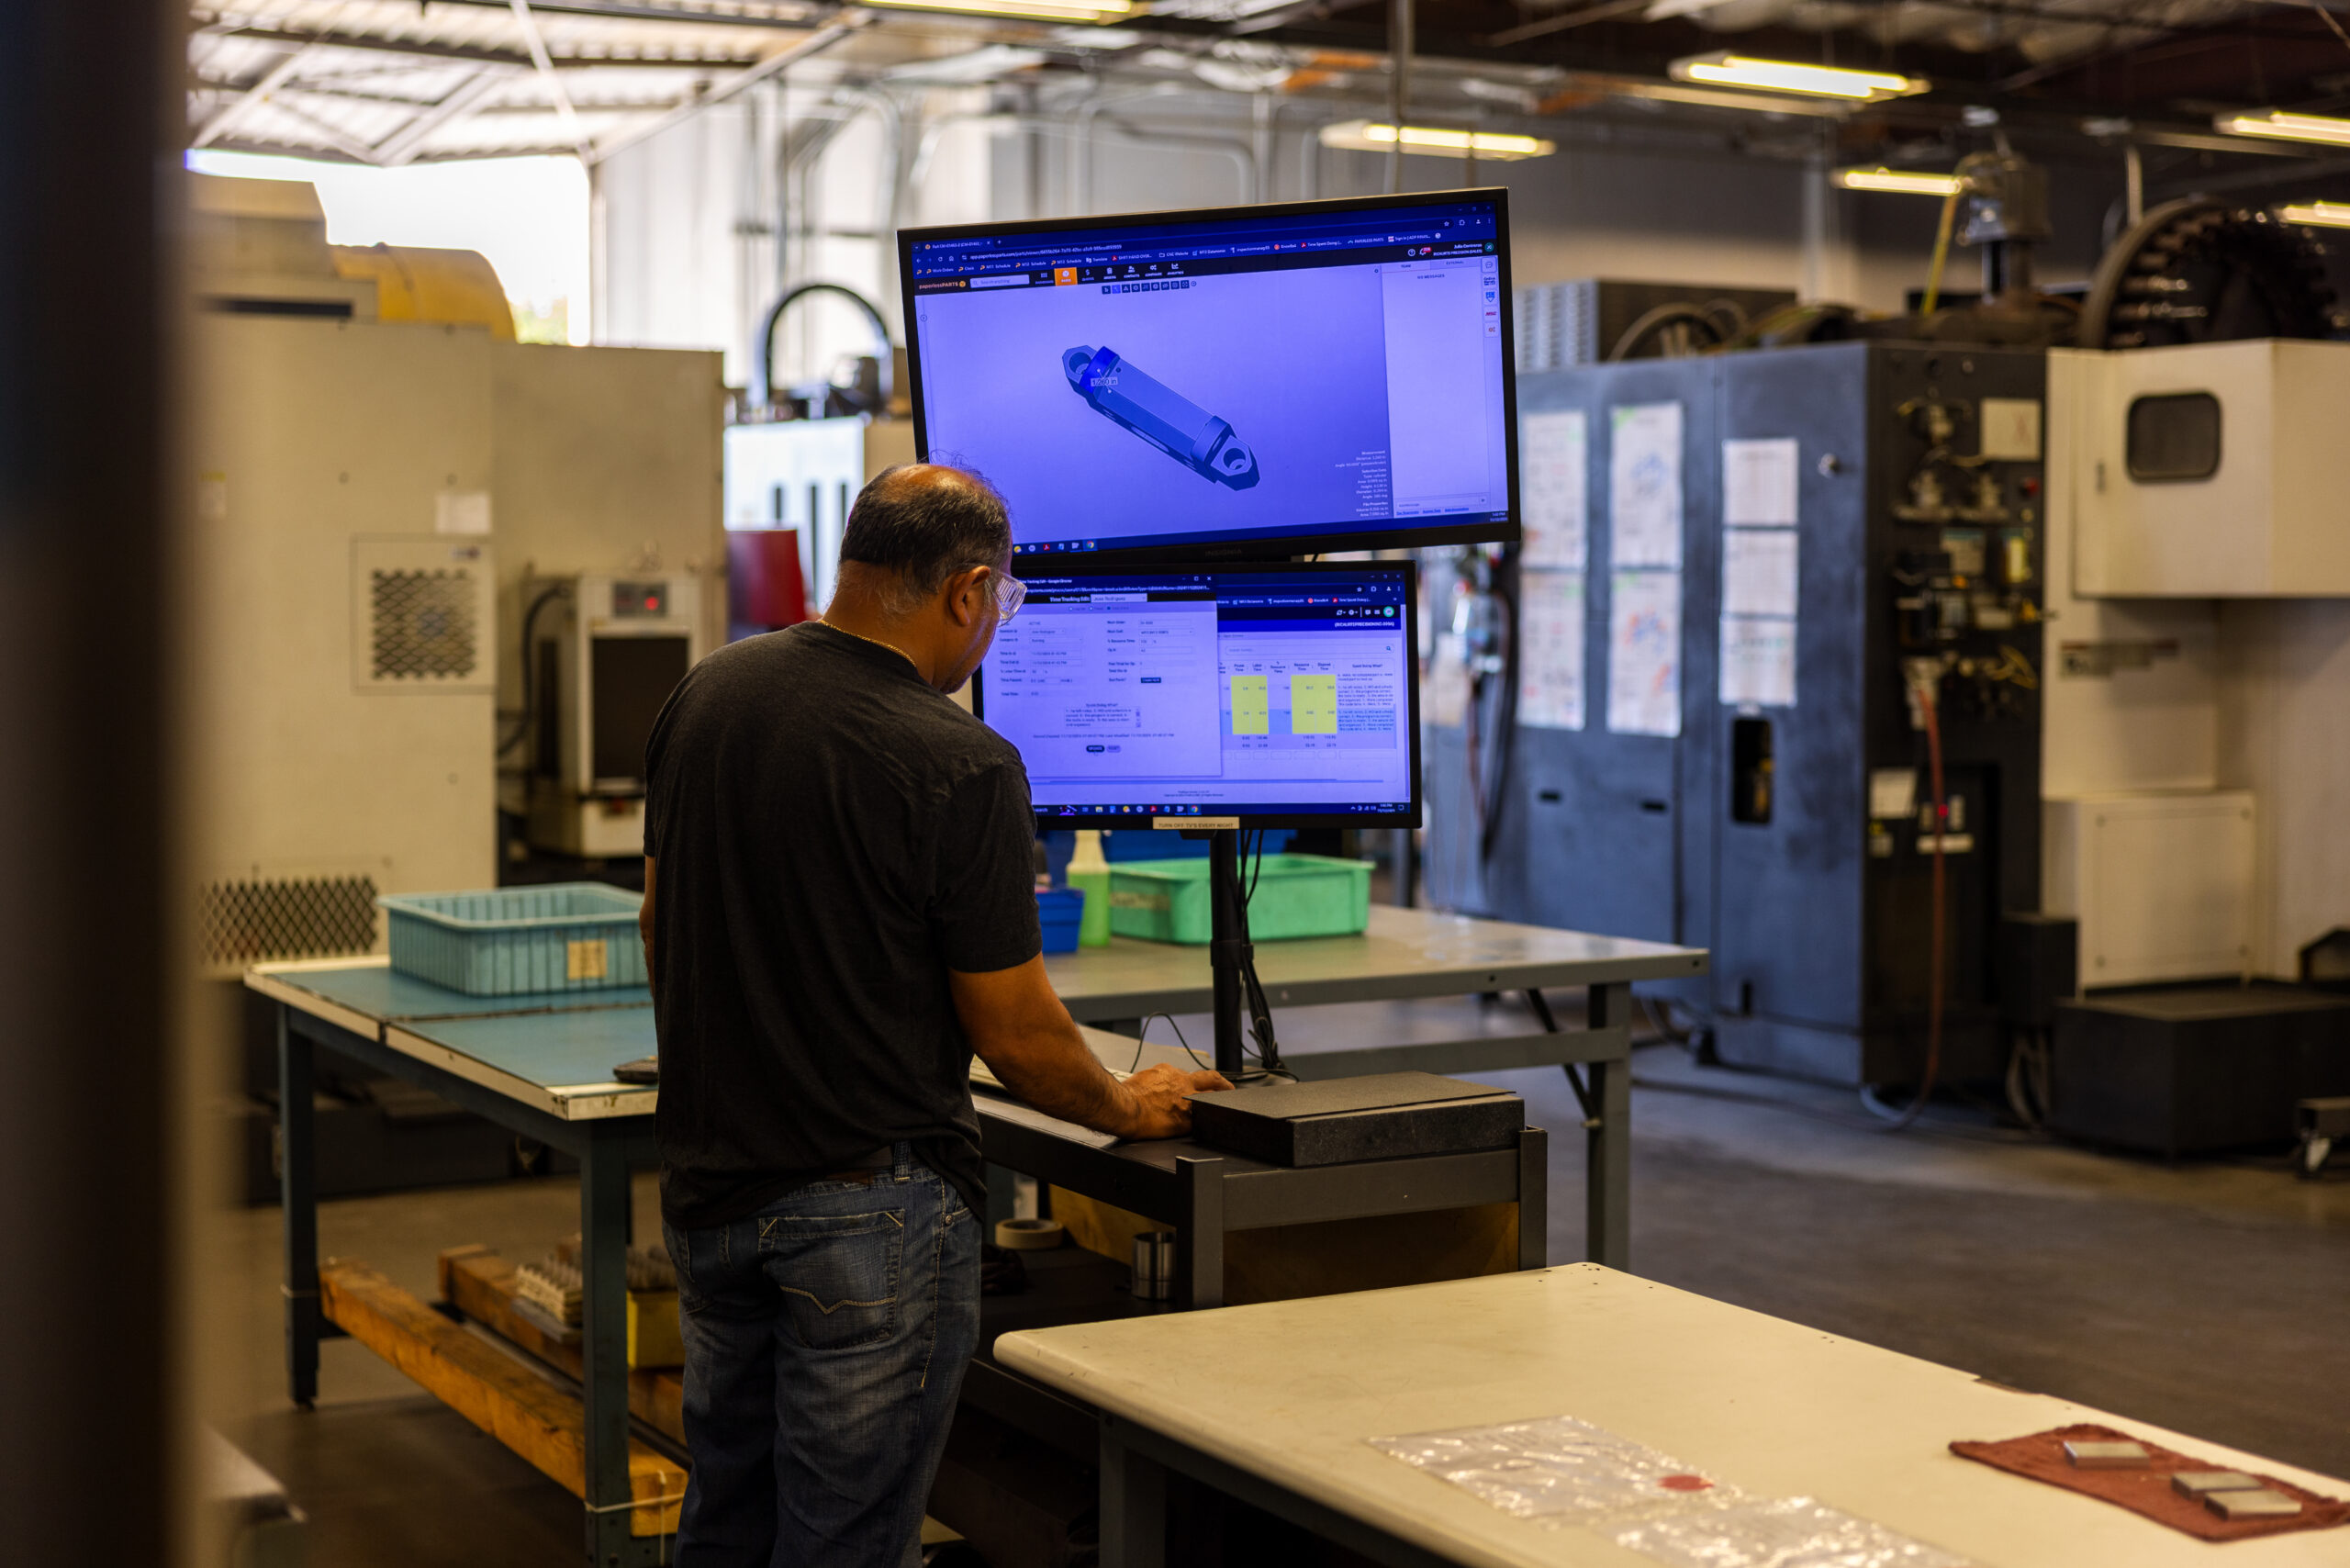
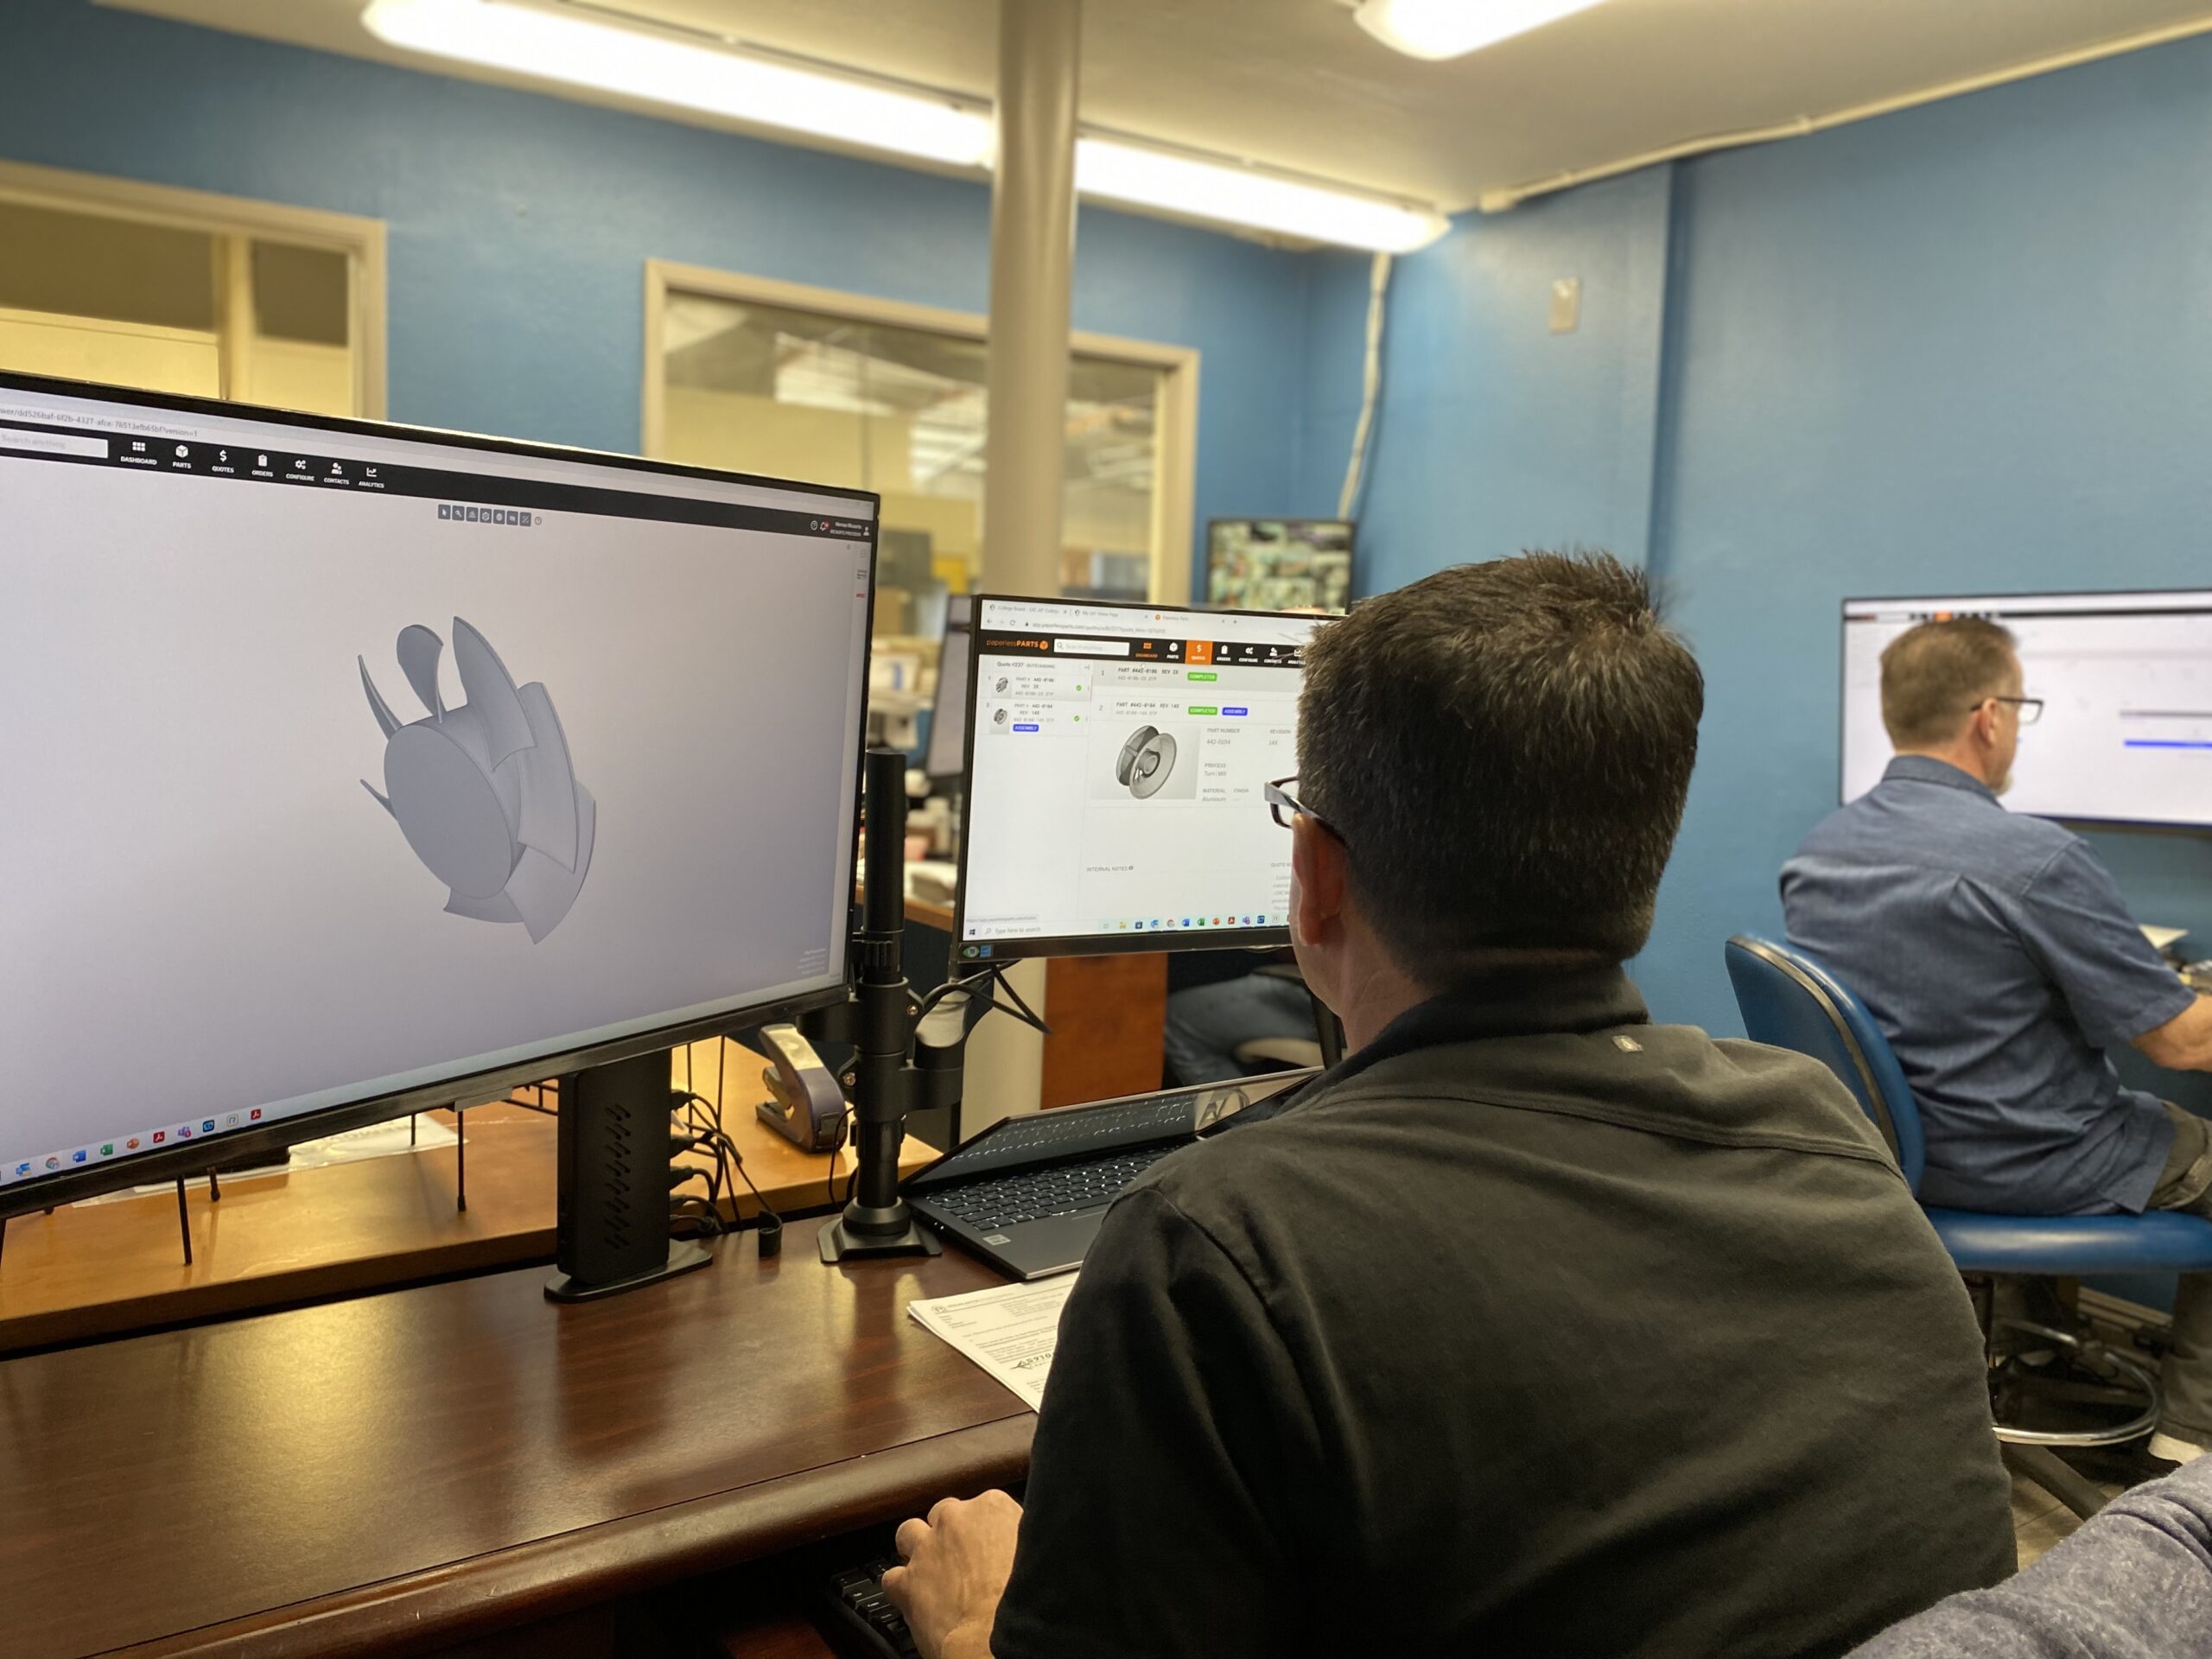
- ProShop. This digital enterprise resource planning (ERP) system allows our team members to input critical details about each part and collaborate on every aspect of our machining and inspection strategy.
- High QA. Like our paperless ERP system, this digital quality system automates key quality processes. HighQA generates approved drawings for each operation before assigning an acceptable quality level (AQL) based on risk assessment and other protocols for machinists and inspectors.
Along with machine monitoring, these technologies facilitate real-time data input and generate automated reports, helping our collaborative team make timely, informed decisions that benefit customers.
4. Real-time data and error mitigation
Our digital technologies play a powerful role in mitigating human error. Instead of transferring inspection data manually, we rely on this powerful system:
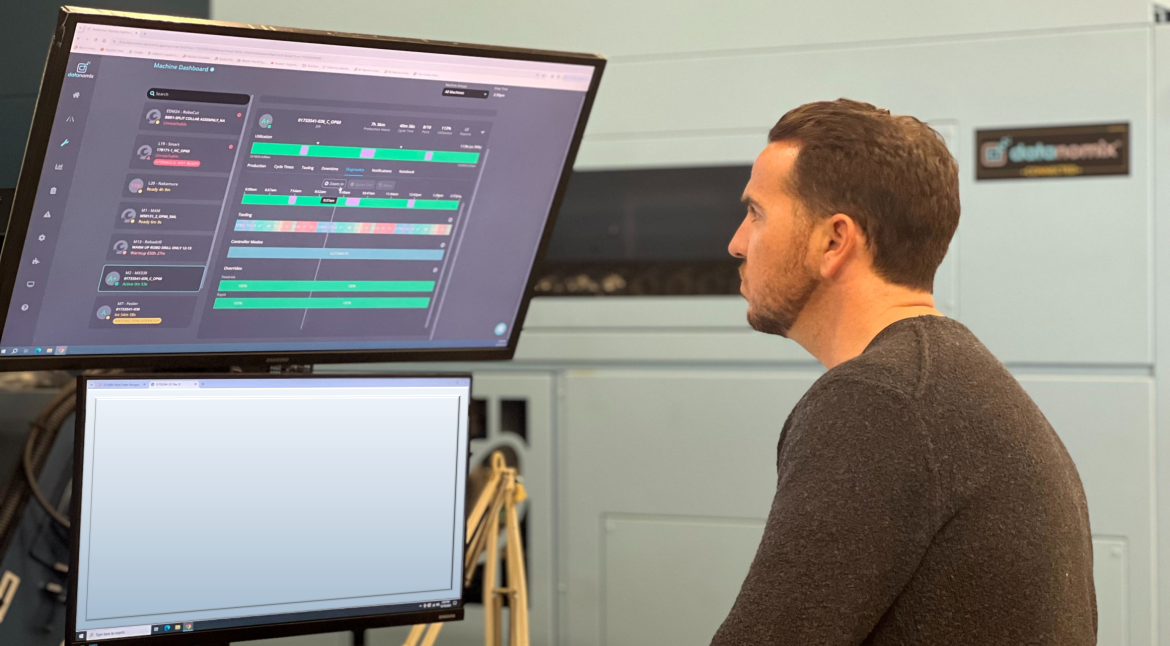
- Datanomix. This real-time production monitoring system automatically collects data on machining parameters and other relevant metrics. Additional real-time digital input from the production floor and quality department further fine-tunes the data. Datanomix generates real-time machine data allowing us to make real-time, data driven decisions.
With thorough, real-time production data always at our fingertips, our team is empowered to apply corrective measures promptly.
5. Measurement tools and technology
RPI uses digital measuring technologies that allow us to input a part’s dimension data into the reports we generate through High QA—another example of eliminating the hassle and risk of manual data entry.
- Our Hexagon coordinate measuring machine (CMM) and Keyence LM Series vision measurement system (VMS) enable direct data downloading into our shop’s reports, reducing time-consuming manual data entry.
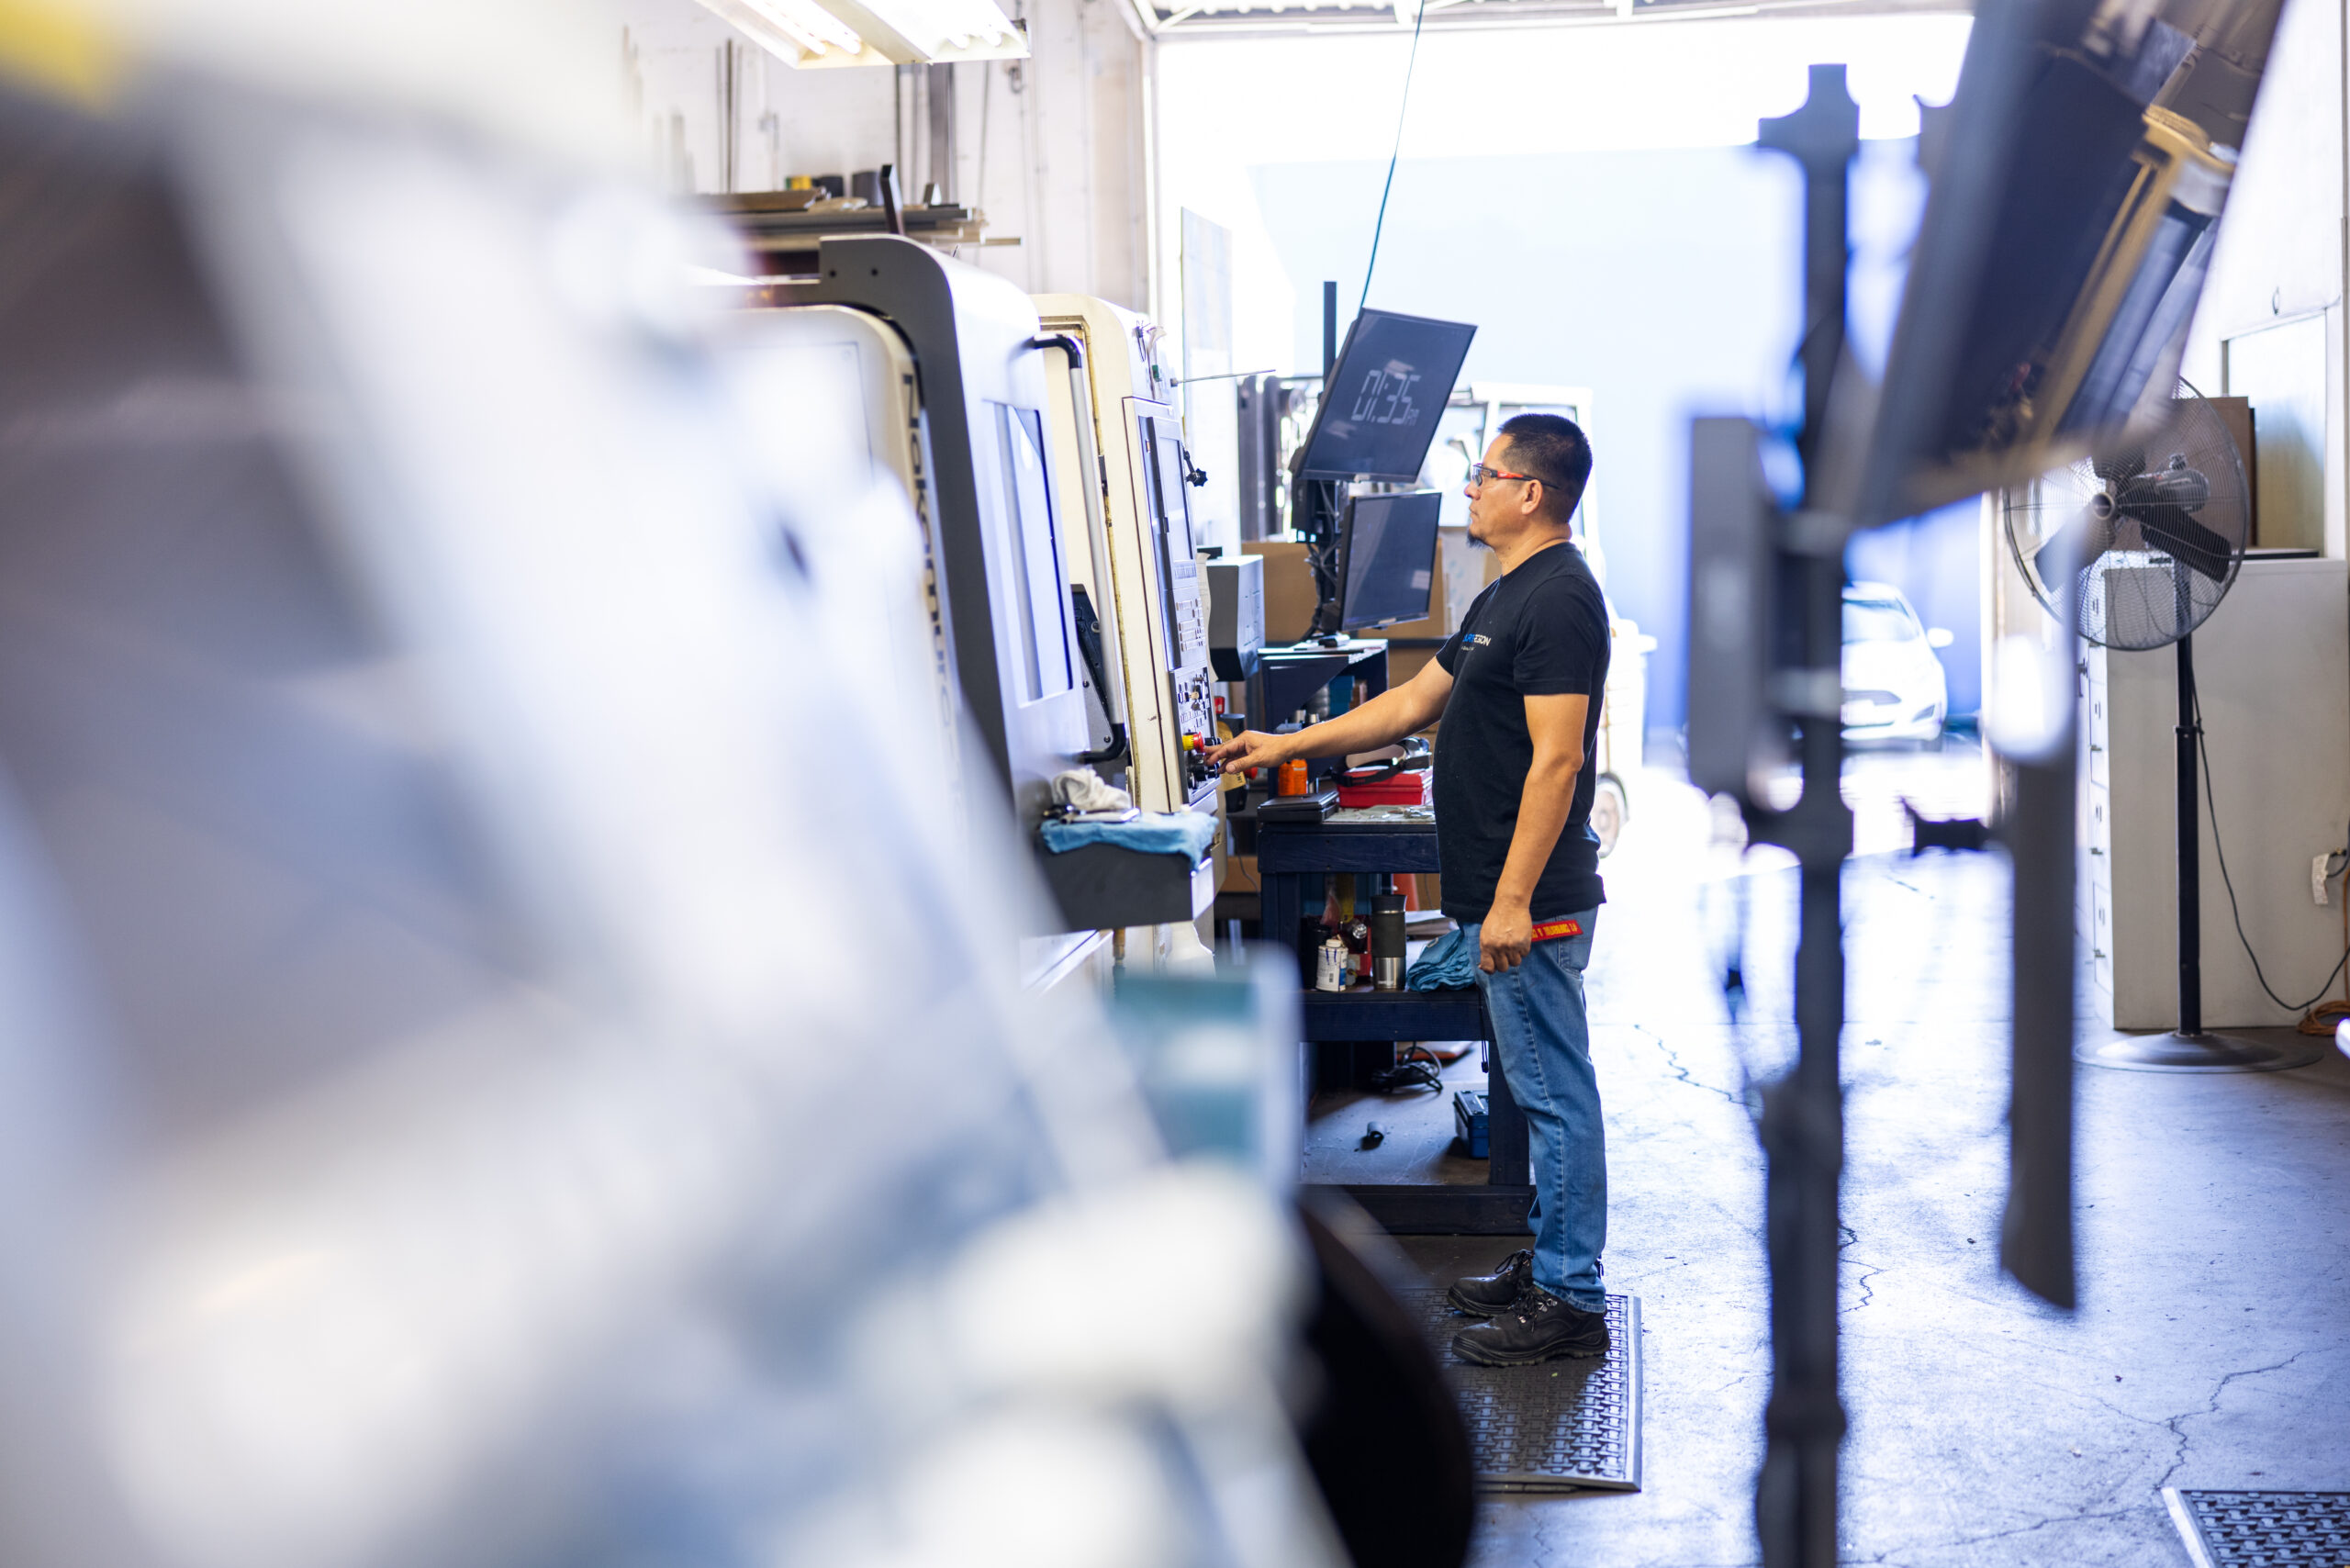
- We use Renishaw machine tool probes for in-process inspections. The probes allow us to perform real-time, on-machine tool wear inspections and part checks.
Our various tools and technologies interact seamlessly to provide our entire team with meaningful visibility into all points of production. With so many powerful resources at hand, we quickly identify and mitigate issues.
6. Commitment to being 100% paperless
We’re proud to be a 100% paperless contract manufacturer! Our fully interactive, paper-free approach to production CNC machining is possible because of these investments and improvements:
- Automated in-process inspection
- Automated post-machining inspection
- Digital documentation
As you can see, this uppermost level of our inspection pyramid relates directly to our foundation. Every process, policy, and operation in our facility interacts with and elevates the other, streamlining our services and enabling consistent quality for every customer.
Ongoing Improvements Drive Quality at Every Level
You may be able to tell that we’re rather obsessed with quality—and not just the quality our customers see but the kind that touches every aspect of our business. As part of our ongoing pursuit of quality, we aim to leverage the full potential of every machine, tool, and technology.
Of course, integrating new processes involves a learning curve, and there’s a wide range of use cases that don’t always apply to RPI. But we know that if we continue to adopt cutting-edge systems and train ourselves in their optimal use, we can only get better.
We hope you’ll join us on this journey!
Request a quote for production CNC machining services.


